Jun, 2016
Configuring s2Member Support for Authorize.net
Table of Contents
This Knowledge Base Article covers setting up s2Member to work with Authorize.net. Authorize.net is a leading provider of payment gateway services, managing the submission of billions of transactions to processing networks on behalf of merchant customers. Authorize.net is a solution offered by the CyberSource Corporation, a wholly owned subsidiary of Visa (NYSE: V).
This article is part of the s2Member User's Guide, a series of articles that cover the fundamentals of using s2Member.
Configuring Authorize.net Options
See WordPress Dashboard → s2Member (Pro) → Auth.net Options
s2Member is integrated with Authorize.net for Direct Payments and also for Automated Recurring Billing (ARB). To take advantage of this integration, you need to have an Authorize.Net Merchant Account. Once your account is set up, you can obtain all of the details below inside of your Authorize.net account. If you need assistance, please check their help section.
Authorize.Net Version (3.1): s2Member integrates with Transaction Version 3.1 for Authorize.net. Please log into your Authorize.Net Merchant Account and make sure your Transaction Version setting is configured as 3.1. You will find this under Account → Settings → Transaction Version.
Recurring Billing
If you plan to use any of the Subscription options in the Auth.net Pro-Form Generator, you must have Automated Recurring Billing enabled for your Authorize.net account. Authorize.Net's Recurring Billing service is required for all types of s2Member Subscriptions whether you intend for them to be recurring or not.
However, Automated Recurring Billing is not needed for Buy Now functionality. The drop-down menus in the s2Member Pro-Form Generators have been labeled Subscription and Buy Now for just this reason. See WordPress Dashboard → s2Member (Pro) → Auth.Net Pro-Forms. There you can see which options require the use of Authorize.Net's Recurring Billing Service. Authorize.Net will charge you a monthly fee for their Automated Recurring Billing Service.
Authorize.net Account Details
See WordPress Dashboard → s2Member (Pro) → Auth.Net Options → Account Details This section is required (if you are using Authorize.net).
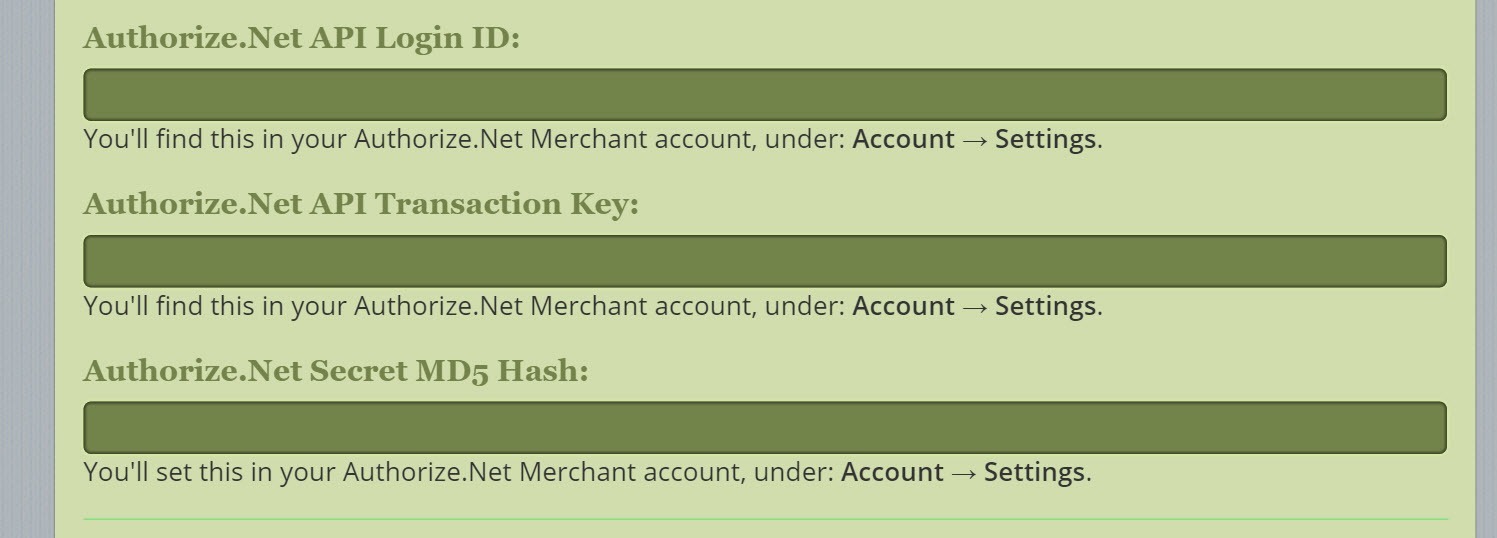
- Authorize.net API Login ID: You’ll find your Authorize.net API Login ID in your Authorize.net Merchant Account under Account → Settings.
- Authorize.net API Transaction Key: You’ll find your Authorize.net API Transaction Key in your Authorize.net Merchant Account under Account → Settings.
- Authorize.net Secret MD5 Hash: You’ll find your Authorize.net Secret MD5 Hash in your Authorize.net Merchant Account under Account → Settings.
- Developer/Sandbox Testing? Select either No or Yes, enable support for Sandbox testing as appropriate. Only enable this if you’ve supplied Sandbox credentials in the steps above.
Authorize.net SP / IPN Integration
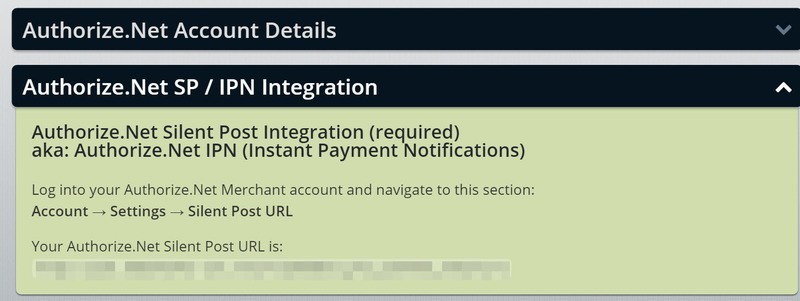
See WordPress Dashboard → s2Member (Pro) → Auth.Net Options → Authorize.net SP / IPN Integration.
This section is required (if you are using Authorize.net).
Log into your Authorize.net Merchant Account and navigate here Account → Settings → Silent Post URL. Copy the URL shown in this s2Member configuration panel (WordPress Dashboard → s2Member (Pro) → Auth.Net Options → Authorize.net SP / IPN Integration) to your Authorize.net Merchant Account.


